Tips and tricks for properly laying tiles on the wall
Currently, facing ceramic tiles have become not so much an element of design as an element of hygiene and cleanliness. Especially in rooms such as kitchen, bathroom and toilet. You can read more about the types of ceramic tiles here. Perhaps there is no such owner who at least once did not try to lay the tiles with his own hands. But, as a rule, after a couple of attempts everyone quits this business - everything goes at random. But in fact, there is nothing complicated in this, laying ceramic tiles is a simple process - you just need to know some features and some rules. We’ll talk about this now ...
Ceramic tile laying
Video No. 1 Video No. 2Be sure to prepare the walls. It sounds simple: the walls for cladding should be plastered. And the smoother the plaster, which is the basis for the facing, lies, the faster the work will go in the future. The plaster is applied in two layers: the first - the main and the second - leveling. The first layer of plaster is designed to remove large wall irregularities up to 3 centimeters. Roughnesses up to 0.5-1.0 centimeters are aligned with the second layer.
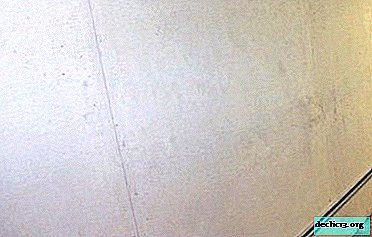
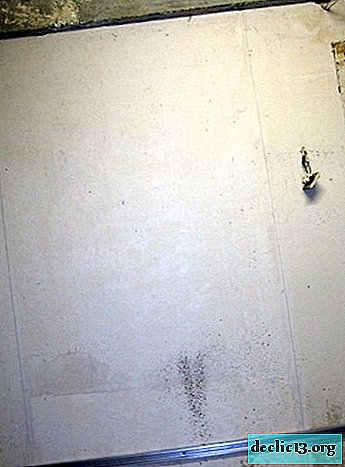
Each layer of plaster should be allowed to dry for at least 12 hours. But what if the old stucco is already lying on the wall and also painted over? In this case, the mandatory requirement must be observed - the paint must be removed, and a notch must be applied to the plaster. Old paint is very well removed by a grinder with a stiff wire nozzle. It is also convenient to make a notch with a grinder - three disks are put on it at once on a stone and grooves are cut in the depth of 0.8-1.0 centimeter and the distance between them is 8-0 centimeters. In other words, there must be two grooves on each tile. The notch (grooves) should go vertically and horizontally in the form of a lattice. After that, the wall must be thoroughly cleaned of dust. Read more for the rough finish here.
Open
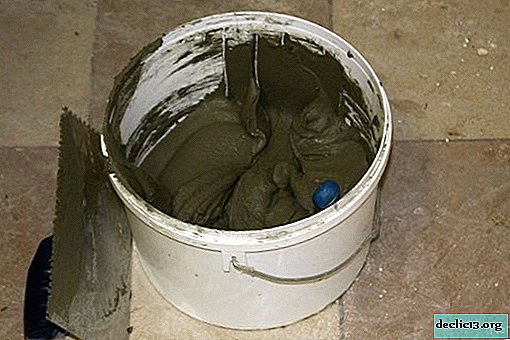
Knead
We clean
Ground
We wait


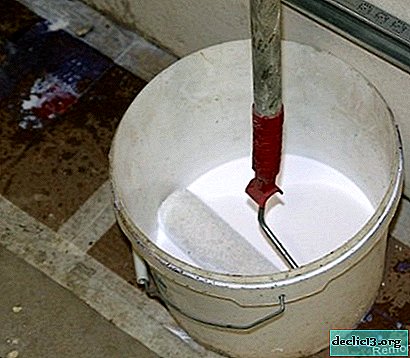
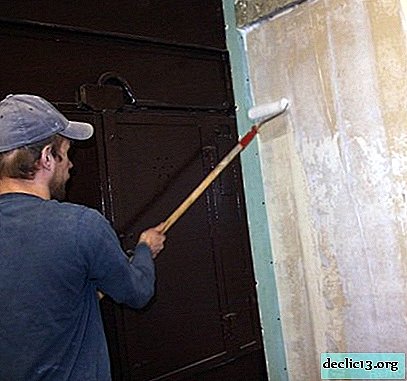
After applying the notch, the wall must be primed. If this is not done, then no glue will keep the tile on the walls - it will subsequently fall off. Now in the stores of building materials there is no shortage of primers for tiles. You just need to ask the seller. But it’s best to use Betocontact as a primer. This is a very proven and reliable tool. After applying the primer, the walls must be allowed to dry, too, during the day. Read more about the types of primers here.
Consider the primer process in the photo:
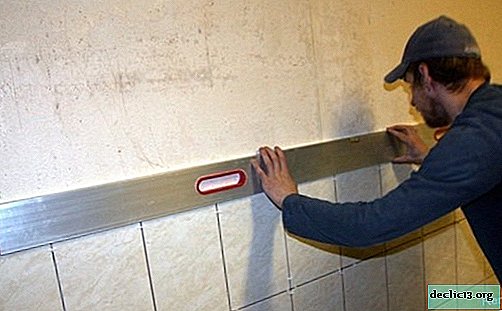
Never be lazy and always mark the front rows. Marking lines are drawn with a simple pencil using a large building level. First, a horizontal marking line is drawn for the bottom row, then a line of the vertical row in the right corner of the wall. If you are left-handed, then the vertical marking line should be drawn in the left corner of the wall. When drawing a marking, there is one feature that must be strictly observed: marking lines should protrude 5-8 millimeters behind the tile. Otherwise, you will glue the lines with glue and they will not be visible.
Laying ceramic tiles is done on glue. Do not experiment with cement mortar. In addition, when choosing glue in the store, pay attention to the type of glue. If you want to revetment walls in a bathroom or in a toilet, then choose moisture resistant glue. When diluting glue (if it is a dry mixture), be sure to observe the proportions on the packaging.
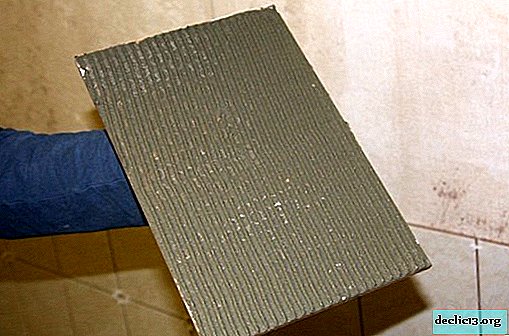
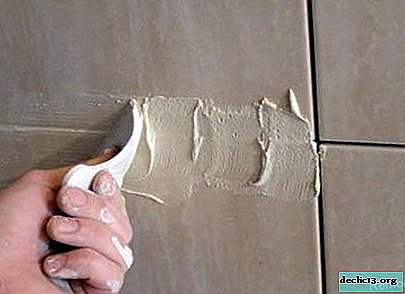
When applying glue to the tiles, use a comb spatula with a tooth height of 8-10 millimeters. IMPORTANT: when applying glue to the wall, the comb spatula must be kept at an angle of 45 degrees. On the tile itself, glue is applied with a very thin layer in the form of a primer. To do this, use a flat spatula.
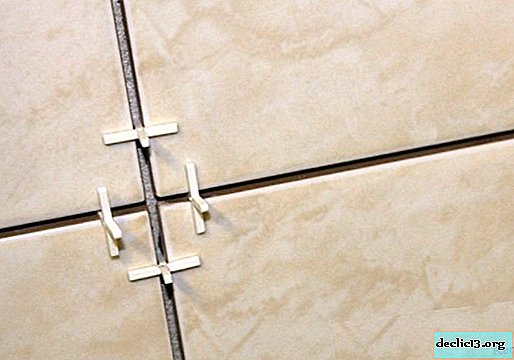
Always use standardizing plastic crosses with a thickness of 1.5-2.0 mm. Otherwise, the seams will be uneven and the tile will slip during installation. And ultimately, you will ruin the entire lining.
Now let's look at the sequence of work on the photo:
Spread glue
Apply glue

Spread over the entire surface
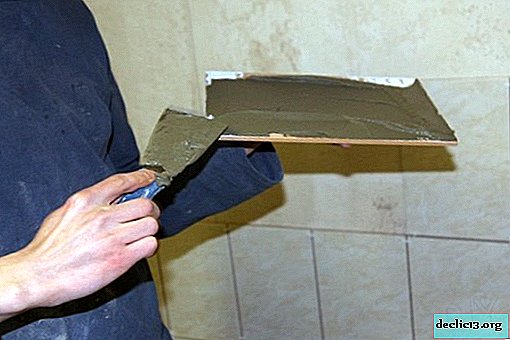
Level with a comb spatula
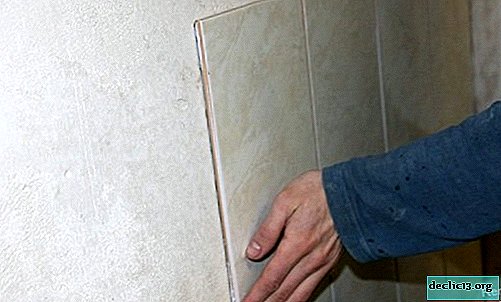
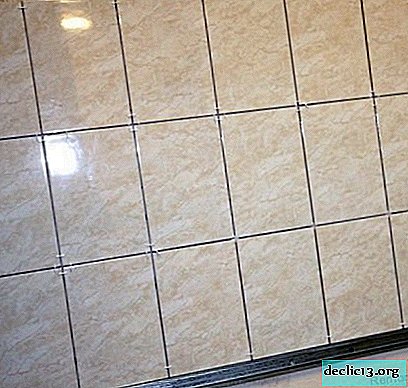
Glue the tile on the wall
Fix with plastic crosses
Checking the seams
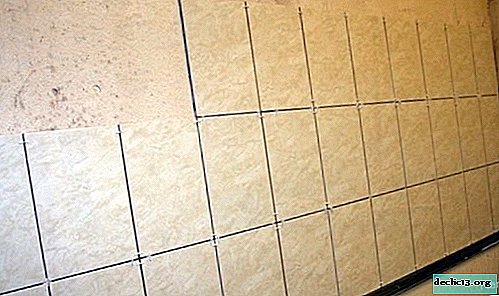
Check the tile level
Coat the seams
Done


That’s basically it.
As a small wish ... Laying ceramic tiles is a simple process, but never rush. If any row went unevenly, then ruthlessly remove it. Otherwise, the distortions will be almost impossible to level.
Watch the video: How to Tile a Shower Wall 9 Quick Tips (November 2024).


-
How to decorate a cake for the New Year
I would like to prepare festive dishes not only tasty, but also beautiful. We pay special attention to desserts and cakes, trying to create a real pastry masterpiece. This is true in 2019, as the mistress of the year - the Yellow Earth Pig is an incredible esthete. So, cake decorating: how to decorate an original New Year's baking to surprise everyone at the festive table? ... -

-
-