Original do-it-yourself shelf on the ropes
The advantages of a hanging shelf are ease of manufacture, functionality and original appearance. In addition, for this kind of design you do not need to drill many holes in the wall. This is ideal for those who need a shelf for storing useful little things.
For manufacturing you will need:
- Drill;
- drill;
- thick rope;
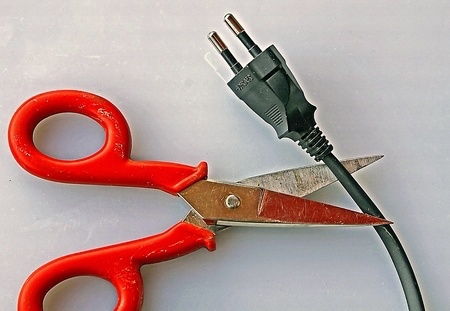
- large scissors;
- brush and paint;
- construction clamps;
- 2 pieces of rectangular plywood.

1. We prepare the material
You can determine the size of the shelves yourself, the main thing is that both parts are the same. If necessary, trim them with a hacksaw and sand the edges.
2. We fix the workpiece
Put one part on another and fasten with clamps.

3. Drill holes
After you have tightly clamped the parts, drill four holes (in the corners) with a drill. In order for the rope to pass freely, the drill must be large enough. (For example, for a 3/8 inch thick rope, use a 5/8 inch drill bit).
If it is difficult for you to drill two parts at the same time, then you should carefully measure and outline the places of the holes, and then do them alternately on each of the workpieces. In order for the shelf to be level, the openings must be clearly aligned.
4. We paint
After the holes are ready, paint the shelves. At this stage, you can show your imagination and create a unique, inimitable design. If you wish, you can only paint the edges, in any case, you will create an exclusive interior element.
5. We measure the rope
Now you need four pieces of rope of the same size. The length of the rope depends on the height of the ceiling and on what level you would like the shelf. You also need to add a small margin for nodes. In any case, it is better to make the ropes longer; it will not be difficult to shorten them later.

6. Putting the shelf together
Tie a knot at the end of each piece of rope. Pass the ropes through the holes and secure by tying one more knot. Then determine the distance at which the second shelf will be located. At this level, it is necessary to tie another knot on each of the ropes (the distance must be carefully measured so that the second shelf is in the horizontal plane). Thread the rope through the holes of the second part.
7. Fasten and hang
Connect all the ropes and tie the knot at the required distance. If the length allows, you can fasten the shelf in this form, and if not, then you need to tie an additional rope.

To prevent the shelf from rotating, it is more convenient to mount it against the walls. You can hang it on a hook in the ceiling or in the wall (if it is long enough).

It remains only to place things on the shelf, and you're done!


